Generate Situational Apps Using NavamAI
Generate apps to use and iterate features with three simple NavamAI commands.
Situational apps is a term I have coined at NavamAI for apps you create just in time as needed for a short period of time. Once the app has met its objective you remove it. Alternatively you can refine the app if your needs change. Situational apps are useful when you are busy with a particular workflow, don’t have the time to code the app, search for an app you need on the web, or do not care about coding in the first place.
Another reason to create situational apps is to learn about various technology stacks. These days web app stacks are frequently evolving. There are alternatives available for almost every aspect of an app including frontend frameworks, style libraries, etc. Let us say you are familiar with one framework and want to try out another, but don’t have the time to code from scratch or read the documentation. Situational apps can help. Just define your stack as a prompt template and let NavamAI do the rest.
Here is an example combining both the above use cases. I am an indie dev, I am bootstrapped and do not have a significant burn rate, yet I am spending money on things like domain registrations, and such. I need a simple expense tracking app which just meets my specific needs. At the same time I do want to learn a lean web app stack which will achieve a nice looking full stack web app, yet stays within context limits of popular frontier models.
Custom Prompt Template
First step is to write a prompt template within my Obsidian workflow. You can use any text or code editor to write the prompt template. Just stick to simple markdown or plain text and you should be fine. Here is a breakdown of key parts of the Create Vite App prompt template that come bundled with NavamAI.
Following prompt defines a prompt variable to replace the description of the app I want to create. Then I describe the stack I am keen to use. I tried few alternatives for Styling libraries including shadcn/ui and Radix UI, however struggled to generate the appropriate dependencies in the install script (explained next). So I went for Material UI which is very popular as well. One tip is to select a popular alternative for each aspect of the stack as this will ensure the LLM you use has world knowledge about prior art (libraries, documentation, tutorials) within its pre-training. This will reduce hallucinations and generate a working app almost everytime.
Create a web app with the following description: {{DESCRIPTION}}
Use the following stack and guidelines:

Framework: React with Vite
Styling: Tailwind CSS + Material-UI
Component library: Material-UI
Data storage: Local browser storage (localStorage or IndexedDB)
Additional libraries: Include via CDN or npm as needed
Language: JavaScript (or TypeScript if complex state management is required)
Next my prompt template asks the model to also create an install script. This will be customized based on what dependencies my app needs, which in turn will depend on what features I describe for the app.
Also create a level 2 heading "Install script".
Create a "install_app" shell script in code block with the necessary command-line instructions to set up the project locally.
Ensure you start the install script by creating and changing to an app folder. Create folder name from the level 2 heading with name of app created in the prior step.
If the app requires any specific Material-UI components, please include the installation commands for those components in the script.
If the app requires any specific package imports, please include the installation commands for those NPM packages in the script.
Generating the App
Now I am ready to generate my expense manager app. Following screen shows the prompt template in the center within Obsidian. Navamai (dark Terminal window on the right) provides ask command which browses the prompt templates and lists these for me to select.
NavamAI figures out that the prompt template has a variable and asks me to enter the description of the app. Here is what I enter.
Create an expense manager app for my startup with dropdown for expense categories suitable for a software startup. App should have features to add, edit, delete expenses. It should also be able to save the expenses in local storage so that when I restart the app it loads the prior saved expenses.
Within seconds my expense manager app code is generated and saved in a markdown blog post format with code blocks for each of the file in my app. This is convenient for my learning objectives to browse the code within my Obsidian workflow without having to open a code editor.
Running the App
Now I can use navamai run command to run my app. It browses the Code folder for generated code blogs. When I select the one I want to run it runs the install script and creates the code files and app structure in the folder I have configured within navamai.yml config under the run section. It then runs the app in my local browser. Done!
The app works to my specification however it does not save or load the expenses on exit and restart. I also want to see a visualization of my expenses my categories and a few more UI enhancements to make the app useful. Let’s do that.
Iterating App Features
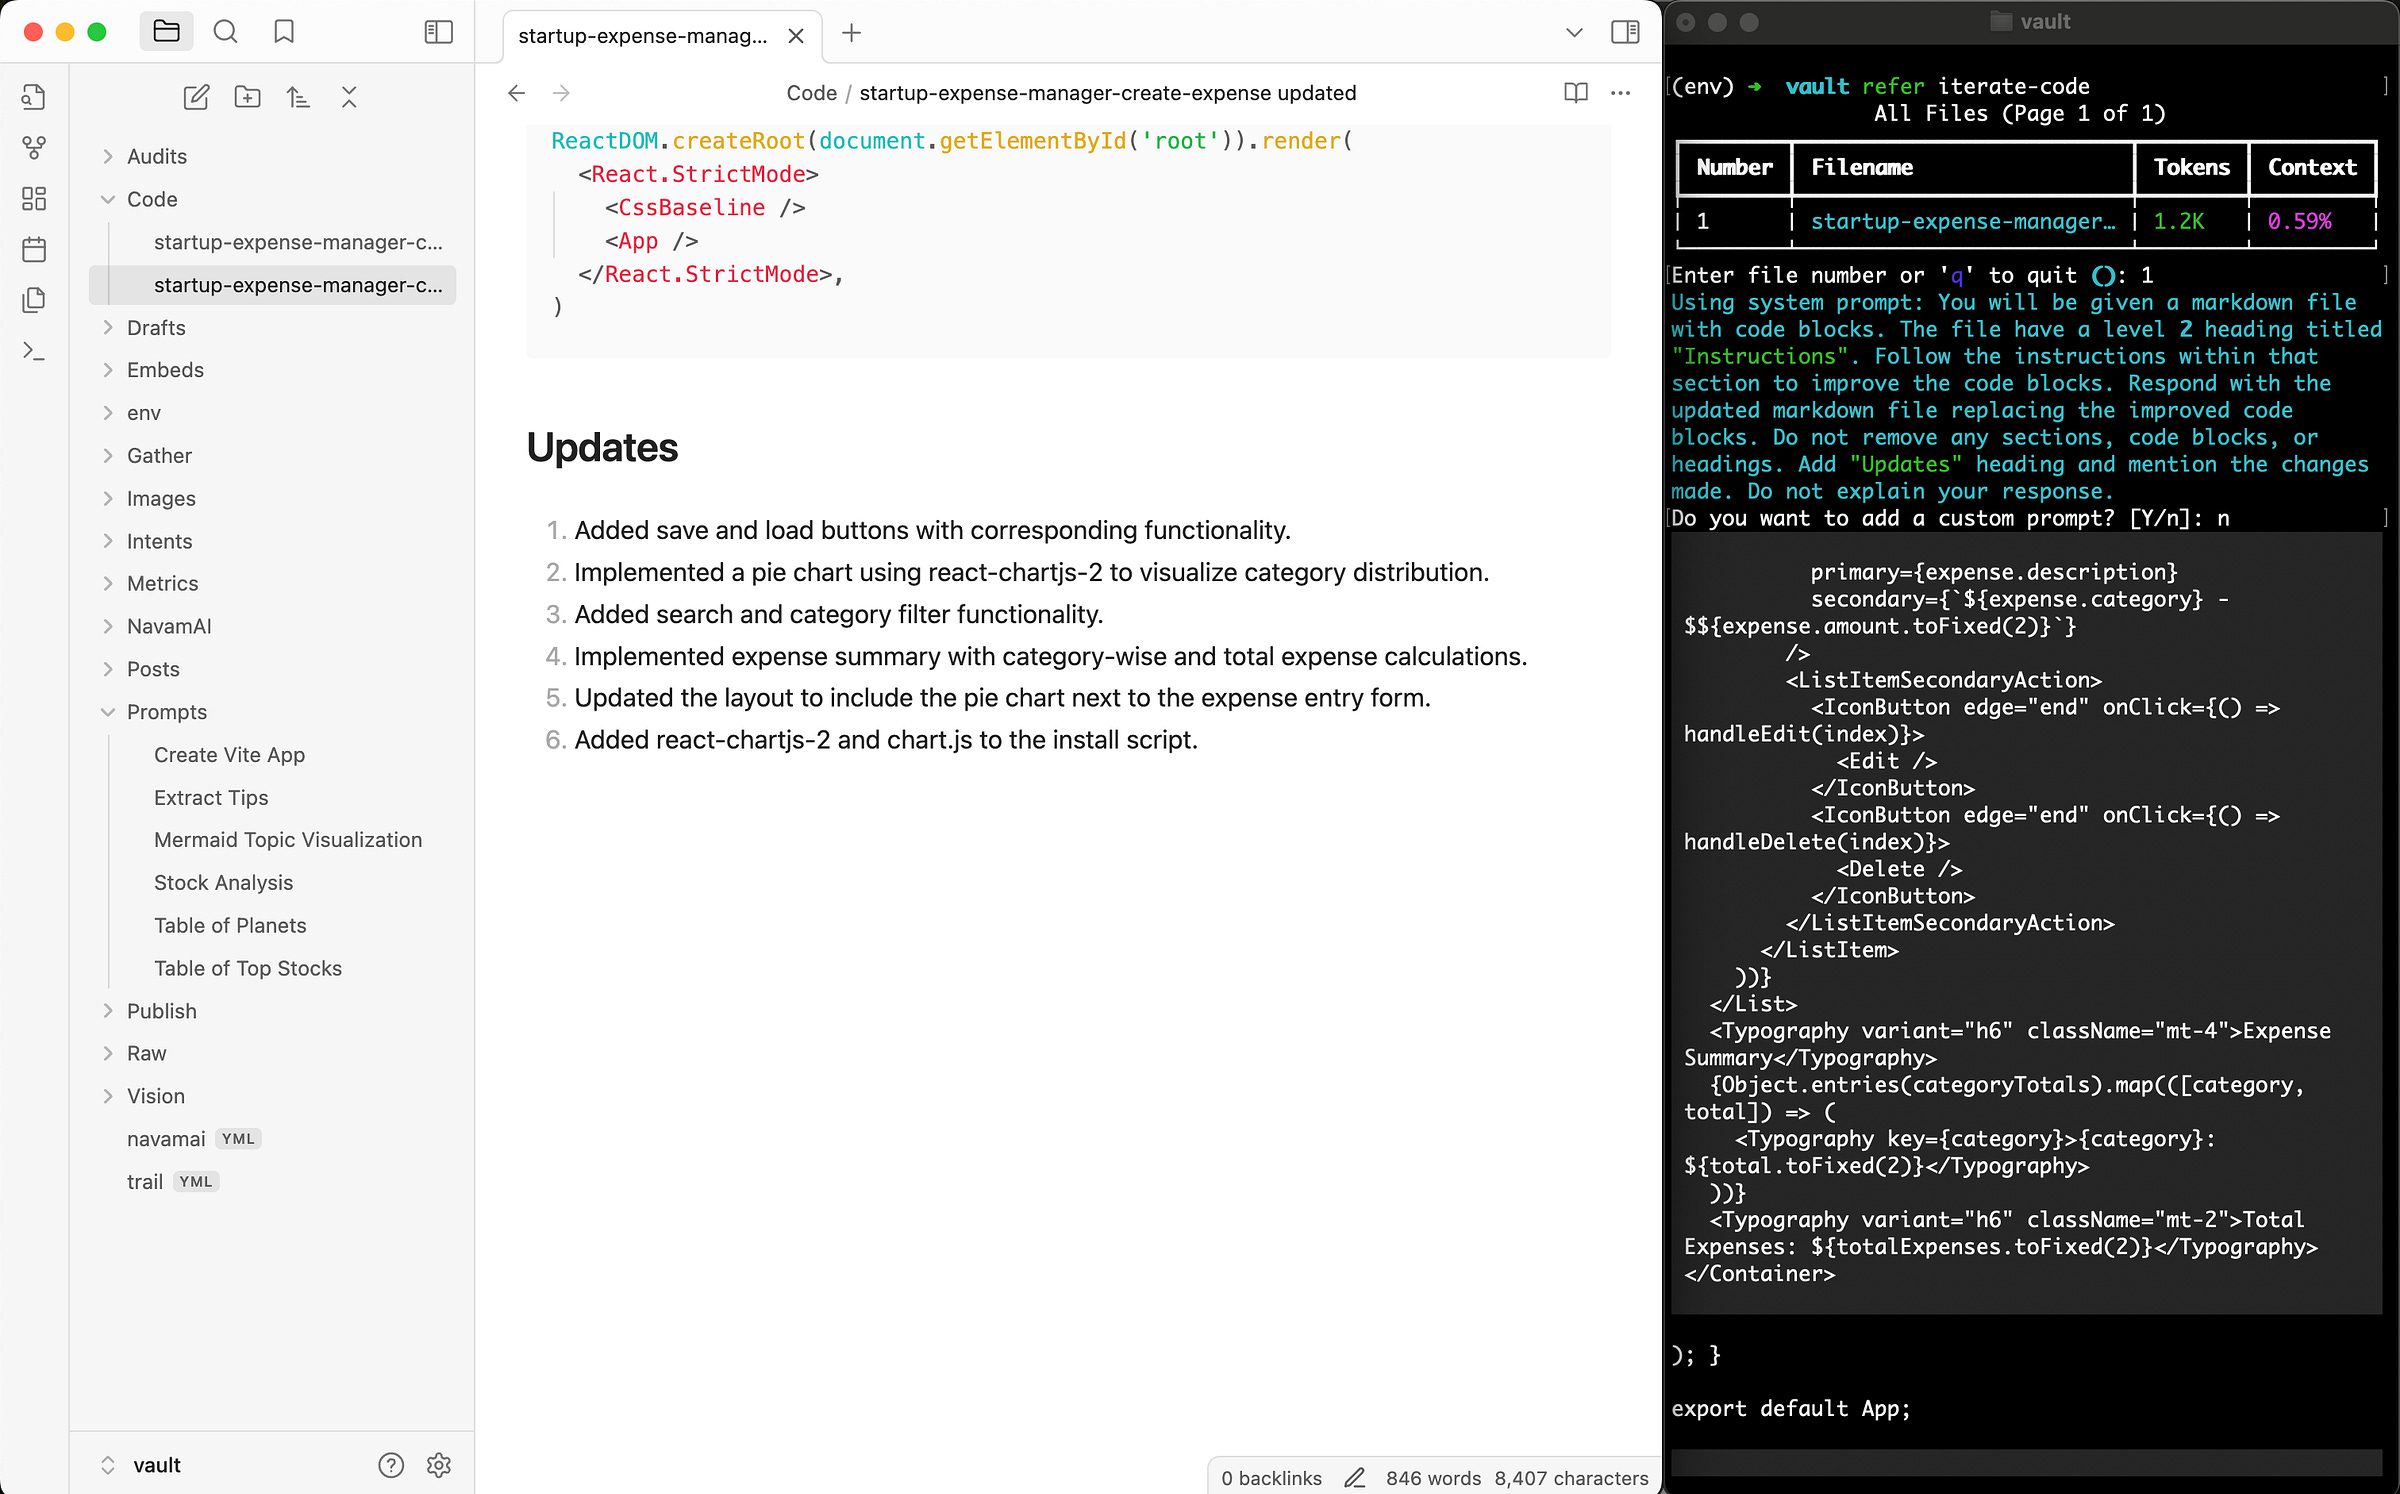
I just need to open the code blog that ran the app and add a section called Instructions and provide an inline prompt with the changes I desire.
Add save and load buttons. On save button click save the expenses in local storage. On load the app should load any saved expenses. Add a pie chart next to the expense entry form to visualize the category distribution. Split the expense report by categories and provide category-wise sum of expenses and total expenses. Add a search and facets feature so I can search expenses as free text as well as select a category to filter by categories.
Now I run the refer iterate-code custom command to iterate on generating another version of the app with the new features. NavamAI saves another version of the code blog markdown with the revised code and add a convenient Updates section to list the new changes it has made.
Now with anticipation, all I need to do is run the updated code blog with the navamai run command. This removes the prior version of the app code and installs the new version and runs it.
The result is perfect! The new app can save expenses in local storage. It has search and category facet based filter. It interactively updates the expenses list and pie chart as I enter new expenses. It summarizes the expenses by category and totals them.
Three Steps Workflow for Situational Apps
Here are the three steps in summary:
Browse Create Vite App prompt template using
askcommand and provide app description to generate a code blog in markdown.Install and run the app using
navamai runcommand.Modify the app using inline prompt within the code blog and run NavamAI pre-configured
refer iterate-codecustom command to generate a new version of code blog. Repeat step 2.
And, the result is a Situational App for expense manager which I can use, enhance, and throwaway if I do not need it anymore!
Please note that I did not have to understand or write a single line of code to achieve this. All I needed were three NavamAI commands and a Terminal.
Learning New Stack
Now let’s continue to my next objective, which is to learn to code in this cool new stack. Firstly, it achieved the objective of writing concise code to fit within 4000 tokens. Actually the entire updated code blog with code, headings, inline prompt, app description, and update text is just 840 words or tokens, so code is even less. Amazing!
Here is the complete app structure and main app file and package file (listing dependencies installed) in VS Code. Create custom Situational Apps to learn how to code in a new stack is so much fun!
Let’s peek under the hood a little bit to understand how NavamAI magic works.
Under The Hood
Power of NavamAI commands comes from a single configuration file navamai.yml which comes bundled with sensible defaults when you install NavamAI.
Here is the configuration for the ask command. You can define custom folders, change the System prompt, use any model and provider that NavamAI supports. We support all top models (15 as of this writing) from leading providers like Anthropic and OpenAI. We even include local models using Ollama. You can also set the max tokens to suit your needs, model capabilities, and your budget. You can also define how creative you want the model responses by setting the temperature parameter right here.
ask:
  lookup-folder: Raw
  max-tokens: 4000
  model: sonnet
  prompts-folder: Prompts
  provider: claude
  save: true
  save-folder: Code
  system: Only respond to the prompt using valid markdown syntax.
    Do not explain your response.
  temperature: 0.5
Here is the refer custom command for processing inline prompts and iterating app versions with new features. This NavamAI command is special. You can extend it with any custom config you want.
refer-iterate-code:
  lookup-folder: Code
  max-tokens: 4000
  model: sonnet
  provider: claude
  save: true
  save-folder: Code
  system: You will be given a markdown file with code blocks.
    The file have a level 2 heading titled "Instructions"...
  temperature: 0.5
Finally here is the config which defines where the apps are installed.
run:
  lookup-folder: Code
  save-folder: ../Apps
NavamAI truly supercharges my workflows just the way I want to configure them. Hope you found this article interesting enough to give NavamAI a whirl.
You can start by visiting our website here to learn quickly about all the NavamAI commands and features.
Create Streamlit App
Update 9/21: We just bundled a new prompt template Create Streamlit App with the latest release of NavamAI. As Streamlit is a self contained framework in Python for creating low code web apps, the pound for pound generated code in streamlit is 50% or less than Vite app. This means more sophisticated apps are possible within the current context limits of the leading code generation models.
This also means as long as the model has pre-training knowledge of Streamlit ecosystem, the chances of getting exactly the app generated as specified in natural English are much higher. Both because there is less code to write and concentration of sources of information about Streamlit. Let’s prove this theory.
Here are a series of prompts which generated a Streamlit app using NavamAI in one shot.
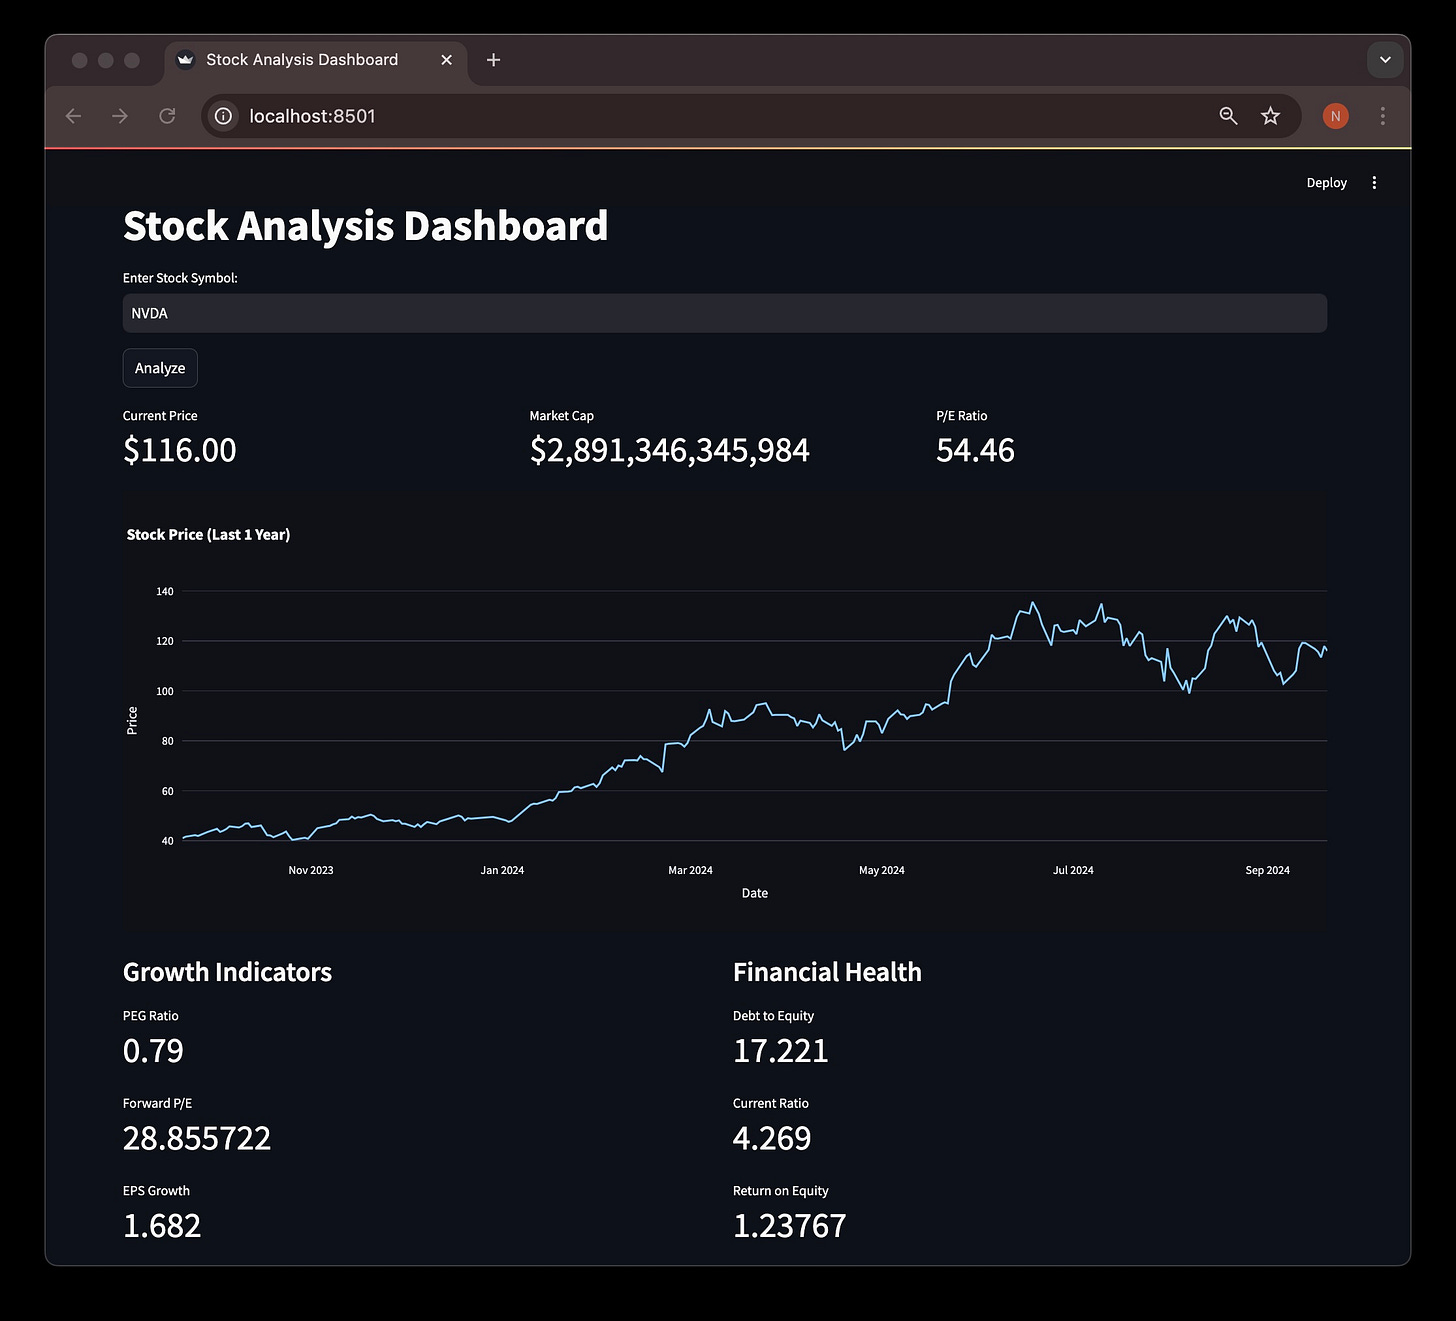
Live Stock Indicators Dashboard
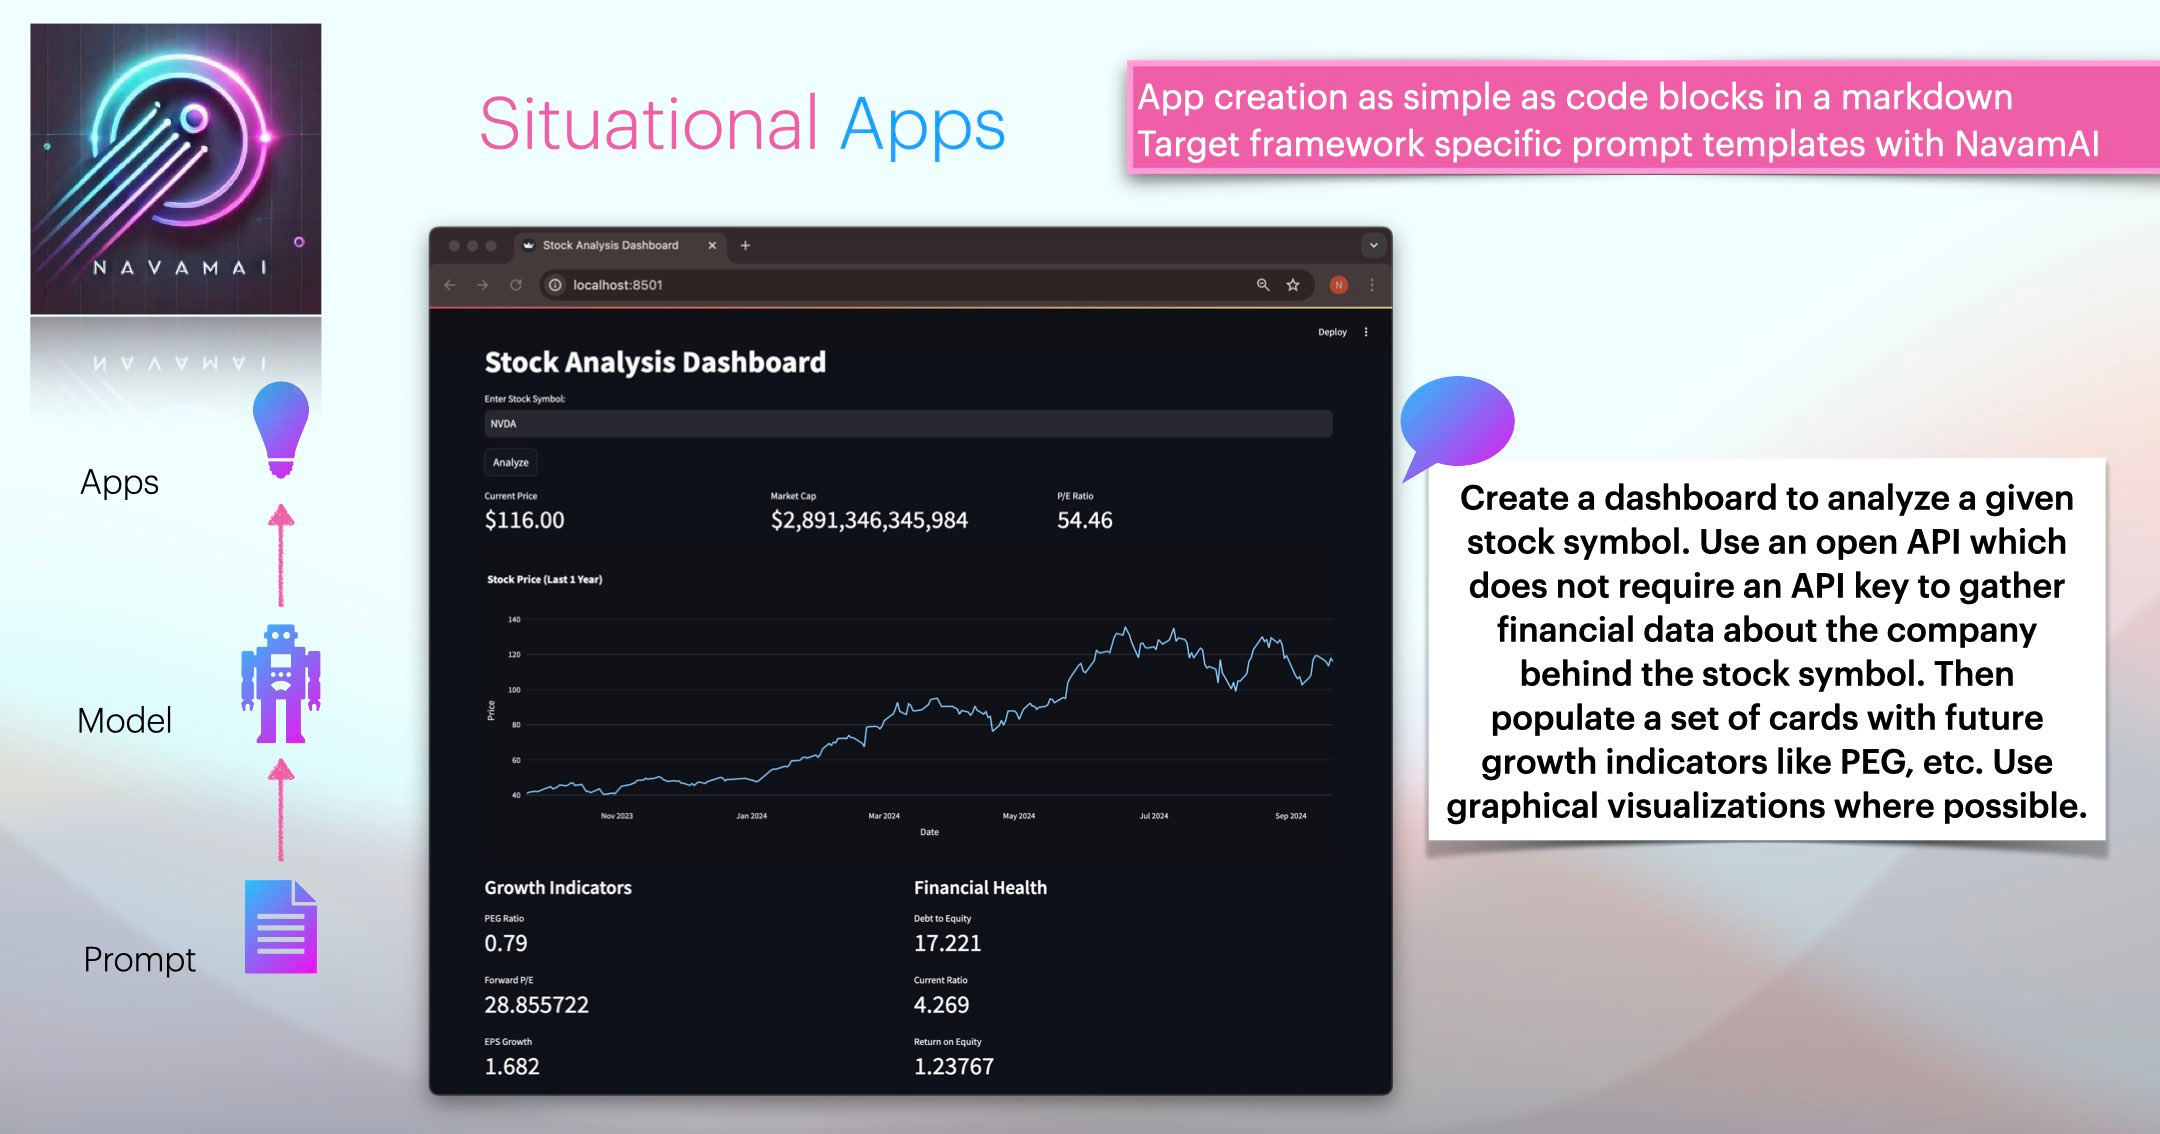
Create a dashboard to analyze a given stock symbol. Use an open API which does not require an API key to gather financial data about the company behind the stock symbol. Then populate a set of cards with future growth indicators like PEG, etc. Use graphical visualizations where possible.
OpenAI Chatbot with Vision
Create a chatbot using latest OpenAI chat completion API. Pick the API key from environment. Use gpt-4o model. Add image upload feature and use OpenAI vision API to prompt the image in conversation.
The prompt took some iterations to refine. But the results are awesome! No code touched.


